 Ferndale
 Building New in Sandy Point Means Getting the Windows Right the First Time
New construction is the one point in a home's life when window installation can be done correctly with zero compromises — no old framing to work around, no hidden rot to guess at, no shortcuts forced by an existing wall assembly. On a shoreline community like Sandy Point, that first-time correctness matters more than almost anywhere else in Whatcom County. The windows going into a new build here will spend decades facing salt-laden wind off the water, long stretches of driving rain, and the damp, low-sun months that keep moss and algae active on north and west-facing surfaces for much of the year. Get the flashing, sealant, and material choices right at rough-in, and the windows perform quietly for the life of the house. Get them wrong, and the first sign of trouble usually shows up as a stain on the drywall two winters later, by which point the damage is already inside the wall.
This page covers what new-construction window installation actually involves for a Sandy Point build, why the shoreline exposure changes some of the standard decisions, and how we sequence the work with your builder and with our own siding crew so the water-management system is continuous from foundation to roofline.
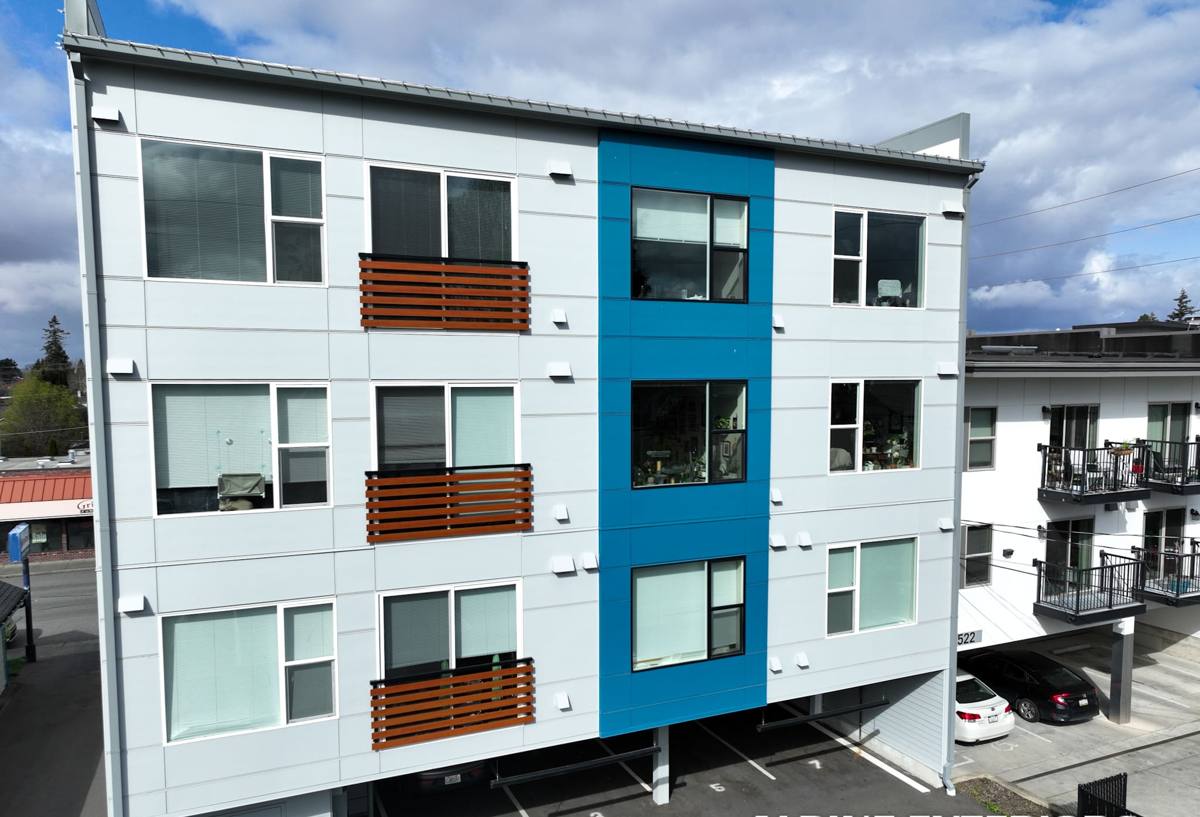
Why Sandy Point's Shoreline Exposure Changes the Window Equation
Ferndale itself sits a few miles inland and gets a fairly typical Whatcom County exposure. Sandy Point sits right on the water, and that proximity changes three things about how windows need to be installed and specified.
Salt Air and Hardware Corrosion
Airborne salt accelerates corrosion on anything ferrous — screws, hinges, cranks, and lower-grade cladding fasteners all degrade faster this close to the water than they would a few miles inland. This isn't a reason to panic, but it is a reason to spec corrosion-resistant fasteners and hardware rather than whatever came standard in a builder-grade package, and to pay attention to how exposed each elevation of the house actually is.
Wind-Driven Rain and Water Management
Rain that comes in sideways off the Strait behaves differently than rain falling straight down. Wind-driven rain gets pushed up under trim, forced sideways past sills, and driven into any gap in the weather-resistive barrier that a calmer climate might tolerate. Every flashing detail at a window opening has to assume water will be pushed uphill, not just downhill, at some point during the year.
Moss Season and Moisture Retention
Whatcom County's long wet season keeps north- and west-facing surfaces damp for months at a stretch, and moss and algae take hold anywhere water sits instead of shedding. Around a window, that means sills need real slope, head flashing needs a proper drip edge, and horizontal trim needs to be detailed so it dries out between storms instead of staying saturated. A window opening that traps moisture doesn't just grow moss on the surface — it keeps the wood and sheathing behind it wet longer, which is where real damage starts.
New-Construction Windows vs. Replacement Windows
These are genuinely different jobs, not the same task at a different stage. Replacement windows go into an existing, finished wall — the installer works with what's already there, often through a retrofit flange or pocket method, and the exterior finish around the opening is patched rather than rebuilt. New-construction windows go in before the siding or exterior finish exists at all, using a nailing fin fastened directly to the sheathing, fully integrated with the weather-resistive barrier (WRB) and flashing system before anything else covers the wall.
That difference matters for a Sandy Point build specifically because new construction is the only point where the entire water-management path — WRB, flashing tape, sill pan, head flashing, and siding — can be built as one continuous system instead of stitched together around an existing window. It's also why window installation on a new build overlaps so heavily with siding work: the same WRB and flashing details that protect the windows are the ones our crew ties the siding into a few weeks later. Handling both under one crew removes a common failure point — the handoff where a window contractor finishes their scope and a siding crew has to guess at what's underneath.
What a Correct New-Construction Window Install Involves
None of this is exotic — it's standard trade practice done in the right order, with attention to a few details that get skipped when a crew is moving fast. The sequence matters as much as the materials.
- Rough opening check: confirm the opening is square, level, and sized correctly before the window ever goes in — shimming later doesn't fix a bad rough opening.
- Sill pan flashing: a sloped, back-dammed pan under the window sill so any water that gets past the window has somewhere to go besides into the wall.
- WRB integration: the weather-resistive barrier is lapped correctly around the opening — over the sill pan, behind the jamb flashing, and shingle-lapped so water always drains outward, never into a seam.
- Window set and fastening: the unit is set plumb and square in the opening, fastened through the nailing fin per the manufacturer's schedule — not just "enough screws to hold it."
- Jamb and head flashing: flashing tape or metal flashing over the fin at the sides and head, integrated with the WRB above so water sheds over each layer in sequence.
- Sealant placement: sealant at the head and jambs where it belongs, and deliberately left out of the weep path at the sill — a sealed sill trap is one of the most common causes of hidden rot in a wet climate.
- Interior air seal: low-expansion foam or backer rod and sealant on the interior side for draft and energy performance, separate from the exterior water-management layer.
Every one of these steps is inspectable before the siding goes on, which is exactly the point — problems caught at this stage cost nothing to fix. Problems caught five years later usually mean removing siding and trim to find out how far the damage spread.
Choosing Frame Materials for a Sandy Point Build
Frame material is one of the few window decisions a homeowner makes directly, and it's worth weighing against the shoreline exposure rather than picking on appearance alone. There's no universally "best" option — each comes with real trade-offs.
| Frame Material | Salt Air / Corrosion | Maintenance | Typical Cost |
|---|---|---|---|
| Vinyl | Won't corrode; UV and coastal wear can chalk or fade the finish over many years | Low — occasional cleaning, no refinishing | Lower |
| Fiberglass | Very stable; resists corrosion and moves less than vinyl with temperature swings | Low | Mid to higher |
| Aluminum-clad wood | Exterior clad face resists weather well; any exposed hardware or clad seams need corrosion-resistant fasteners near the water | Moderate — wood interior needs normal upkeep, clad exterior is low-maintenance | Higher |
| Bare aluminum | More prone to pitting and corrosion in salt air without a quality anodized or powder-coat finish | Higher near shoreline | Mid |
For most Sandy Point builds, vinyl or fiberglass is the practical choice — both hold up well against salt air with minimal upkeep. Aluminum-clad wood can look excellent and perform well, but it's worth budgeting for periodic checks of the cladding seams and hardware given the exposure. Whatever material you choose, we spec corrosion-resistant fasteners for the install itself regardless of what the window manufacturer ships as standard hardware.
Energy Code and Performance Considerations
Washington's energy code sets minimum performance requirements for new-construction windows, typically expressed as a maximum U-factor (how well the window resists heat loss) and, depending on the project, solar heat gain coefficient. Your builder's plans should already specify code-compliant glass packages, but it's worth confirming the actual U-factor and SHGC ratings on the units being installed rather than assuming "double-pane" automatically clears code — glass packages vary more than people expect. Bedrooms and other sleeping rooms also have egress requirements — minimum opening size and sill height — that have to be met regardless of the window style chosen, and those requirements get locked in at the framing stage, not after the windows arrive.
How We Coordinate With Your Builder and Siding Timeline
On a new build, window installation sits in the middle of a sequence: framing, then WRB, then windows, then flashing, then siding. Every one of those steps depends on the one before it being done correctly, and the window-to-siding handoff is where a lot of avoidable problems get introduced when different crews aren't communicating. We work directly with your builder's schedule and, where we're also handling the siding, we treat the WRB and flashing work at the windows as the first stage of the same water-management system the siding ties into later — not a separate scope with its own logic. That continuity is the practical advantage of using one crew across both trades: the person flashing your windows is thinking about how the siding will lap over that flashing, because they're the one installing it.
Our New-Construction Window Process
- Review the plans and window schedule with your builder, confirming sizes, egress compliance, and rough openings before install day.
- Inspect and prep each rough opening — square, level, and properly sheathed — before flashing begins.
- Install sill pan flashing and integrate the WRB around each opening in the correct shingle-lap sequence.
- Set, shim, and fasten each window per the manufacturer's schedule, using corrosion-resistant fasteners.
- Apply head and jamb flashing, tying it into the surrounding WRB, and leave the sill weep path clear.
- Walk every opening for plumb, square, and proper reveal before calling for inspection or moving to siding.
- Document the flashing details before they're covered — useful for you, your builder, and any future work on the home.
That last step is one homeowners rarely think to ask for but appreciate later: a record of what's actually behind the siding at each opening, in case anything ever needs attention down the road.
Why Hire a Crew That Already Works Sandy Point
Window flashing details that work fine on an inland Ferndale lot can underperform on a shoreline site where wind-driven rain hits at angles a calmer site never sees. A crew that's already worked Sandy Point builds knows which elevations take the worst of the weather, has a working relationship with local builders and Whatcom County inspectors, and isn't learning the site's exposure on your project. That familiarity shows up in small decisions — extra attention to a west-facing gable, a slightly more conservative flashing detail on a corner unit that gets direct wind off the water — the kind of judgment calls that don't show up on a spec sheet but matter over twenty years of coastal weather.
If you're building new in Sandy Point and want the windows done right the first time, we're happy to walk the plans with you or your builder and put together a free, no-pressure estimate — just fill out the form below.