 Ferndale
 Building New in Sumas: Why Window Installation Deserves Extra Attention
Sumas sits at the far northern edge of Whatcom County, close enough to the border and the Nooksack River lowlands that builders here already know to take drainage, moisture, and wind-driven weather seriously. When a home or addition goes up from the studs out, the windows aren't a cosmetic afterthought — they're one of the largest openings in the building envelope, and how they're integrated with the framing, house wrap, and siding determines whether that home stays dry for the next 30 years or starts showing water stains behind the drywall in five.
New-construction windows are different from replacement windows in one key way: they have a nailing flange that gets integrated directly into the wall assembly during framing, before siding goes on. That gives us the chance to get flashing and water management exactly right — but only if it's done in the correct order, with the correct materials, by someone who has actually done it on homes in this region before.
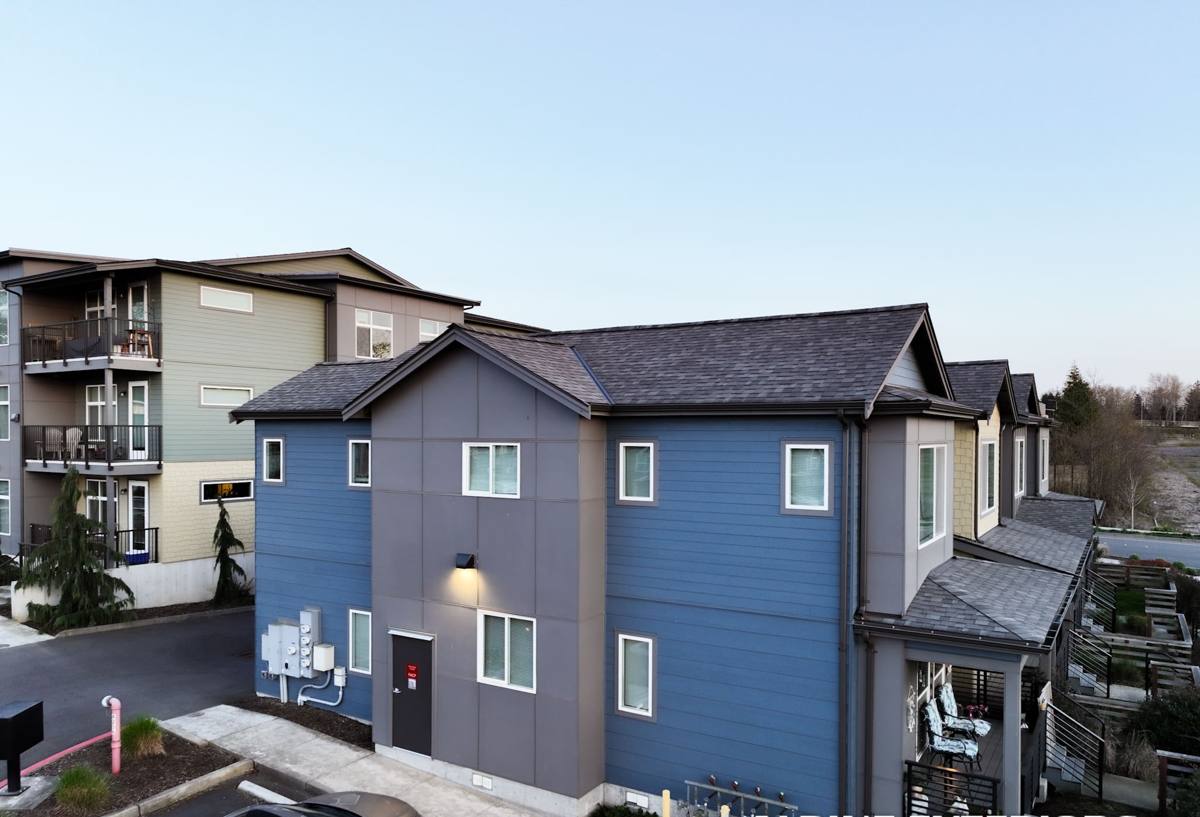
What Whatcom County Weather Demands From a New Window Install
Ferndale and the surrounding communities, Sumas included, deal with long stretches of driving rain, high humidity, and a moss season that can run most of the year on north-facing walls and shaded elevations. None of that is unique to any one neighborhood — it's the reality of building anywhere in this part of the Pacific Northwest, where marine-influenced weather pushes inland and settles into low-lying river valleys.
For new-construction windows, that translates into a few non-negotiables:
- Every window opening needs a sloped sill pan so any water that gets past the glass and frame drains back out, not into the wall cavity.
- Flashing tape and house wrap need to be layered shingle-style — top layer over the one below — so water always sheds downward and outward.
- Sealant and flashing choices need to hold up to sustained damp conditions, not just an occasional rainstorm.
- Frame materials and finishes should resist the kind of persistent moss and algae growth that shows up on shaded, north- and west-facing walls in this climate.
Skip any one of these steps and the window itself can be a perfectly good product — the failure shows up in the wall around it, months or years later, when it's expensive to trace and fix.
Why This Matters More During New Construction
During new construction, you get one shot at doing the wall assembly right before it's covered up. Unlike a retrofit, where we're working around existing siding and trim, new-construction installs let us tie the window flashing directly into the weather-resistive barrier as it's being installed. That's a real advantage — but it also means mistakes made at this stage get buried under siding and finish work, sometimes for decades, before anyone notices.
What a Correct New-Construction Window Install Actually Involves
A proper install isn't just "screw the window into the rough opening." There's a sequence, and each step depends on the one before it being done correctly.
- Rough opening check. We verify the opening is square, plumb, and sized correctly for the window unit before it ever goes near the wall.
- Sill pan flashing. A sloped, waterproof pan goes in first, so any water that reaches the sill has somewhere to go besides the framing.
- Jamb and head flashing. Flashing tape is applied up the sides and across the top, integrated with the house wrap in the correct shingled order.
- Setting the window. The unit is set into the opening, shimmed level and plumb, and fastened through the nailing flange per the manufacturer's schedule.
- Weatherproofing the flange. The flange itself gets taped and sealed on the sides and top — never fully sealed across the bottom, which needs to stay open to drain.
- Insulation and air-sealing. The gap between the window frame and rough opening gets filled with a low-expansion foam or backer rod and sealant — never packed tight with fiberglass, which does nothing to stop air movement.
- Interior and exterior trim. Once the wall assembly is confirmed dry and sealed, trim and siding tie-in finish the job.
Every one of those steps is inspectable before the wall closes up — which is exactly when we want problems caught, not after.
Product Considerations for New Builds in This Climate
New construction gives you more flexibility in window selection than a replacement project, since you're not constrained by an existing opening. That said, not every frame material performs the same way in a wet, moss-prone climate.
| Frame Material | Moisture Behavior | Maintenance | Our Take |
|---|---|---|---|
| Vinyl | Doesn't absorb water or rot; welded corners resist leaks if installed correctly | Low — occasional cleaning | Solid, cost-effective choice for most new builds in this area |
| Fiberglass | Very stable, minimal expansion/contraction, holds paint and finishes well | Low | Good option where a painted look or larger sizes are wanted |
| Wood (clad exterior) | Interior warmth of wood, but exterior cladding needs perfect seal integrity to keep moisture out | Moderate — depends on cladding condition | We install these carefully, but flag the added sensitivity to installation quality |
| Bare wood | Absorbs moisture readily; highest risk in a climate with this much sustained dampness | High — regular refinishing | We'll install per spec if requested, but recommend clad or vinyl for most Sumas builds |
We're not in the business of telling homeowners which brand to buy — we're in the business of telling you honestly how a given material and installation approach will hold up here. If a product needs a level of upkeep that doesn't match how you plan to live in the home, we'd rather flag that upfront than let it become a maintenance headache down the road.
Our Process for New-Construction Window Jobs in Sumas
Working With Your Builder or Framer
Most of our new-construction window work happens in coordination with a general contractor or framing crew, not as a standalone visit. We show up once openings are framed and the weather-resistive barrier is ready, confirm rough opening dimensions against the ordered window sizes, and schedule the install to keep the build moving without gaps in the building envelope.
On-Site Sequencing
We install sill pans and flashing on a dry day whenever the schedule allows, since flashing tape adhesion suffers in wet or freezing conditions — a real scheduling consideration this far north in Whatcom County, where fall and winter builds need extra weather-window planning.
Documentation
Because these details get covered by siding, we photograph flashing and flange details at each opening before it's closed up. That gives you a record of what's behind your walls, and gives us a clear reference if anything ever needs to be traced back during future siding or remodel work.
Before You Close In the Walls: A Homeowner's Checklist
Whether you're building yourself or working with a general contractor, these are worth confirming before siding goes on:
- Sill pans are installed and sloped to drain outward, not toward the framing.
- Flashing tape is layered shingle-style, with each layer overlapping the one below.
- Nailing flanges are sealed on the sides and top, left open at the bottom.
- Gaps between the frame and rough opening are sealed with low-expansion foam or backer rod, not stuffed with loose insulation.
- Window sizes and rough openings were verified against the actual ordered units, not just the plans.
- Photos or notes exist of the flashing work before it's covered by siding.
Why Hiring a Crew That Already Works Sumas Matters
Sumas isn't a huge town, and new-construction and addition work here often means coordinating around the same builders, the same permitting office, and the same weather windows every other project in the area deals with. A crew that's already worked jobs in and around Sumas and greater Ferndale knows how the local building department likes to see flashing details documented, knows which weeks of the year are realistic for exterior work, and isn't learning the region's moisture challenges on your dime.
That familiarity also matters for scheduling. Coordinating window installs with framing crews, siding crews, and inspection timelines takes local knowledge of how those pieces typically fit together in this area — not just general construction experience from somewhere with a very different climate.
A Note on Long-Term Performance
New-construction window installation isn't a job you get to redo cheaply. Once siding, trim, and interior finishes go on, correcting a flashing mistake means tearing back out work that's already been paid for. That's the core argument for doing it right the first time: a sloped sill pan, correctly shingled flashing, and a sealed-but-drainable flange cost the same in labor whether they're done correctly or not — the only difference is whether the wall behind your new windows stays dry through the next 30 years of Whatcom County rain.
If you're planning new construction or an addition in Sumas and want windows installed the right way from the start, we're happy to walk the plans with you and give a free, no-pressure estimate — just fill out the form below.