 Ferndale
 Building New in Nooksack: What the Climate Actually Demands
Nooksack sits inland from Ferndale in Whatcom County, but the same weather pattern governs both: wet winters, wind-driven rain off the water, and long stretches of gray, damp air that keep everything from siding to roof valleys holding moisture longer than homes see in drier parts of the state. New construction gives you one real advantage over a remodel — you get to build the window openings correctly the first time, before siding, trim, and insulation cover up any shortcuts. That window of opportunity closes the day the crew moves on to the next trade.
A new-construction window isn't just glass and frame. It's a system: the window unit, the nailing fin, the flashing tape, the housewrap integration, and the sealant joints all have to work together to shed water and block wind. Get that sequence wrong on a new build and you don't find out for a year or two — usually as a stain on drywall below a window, or soft trim that wasn't supposed to be soft yet.
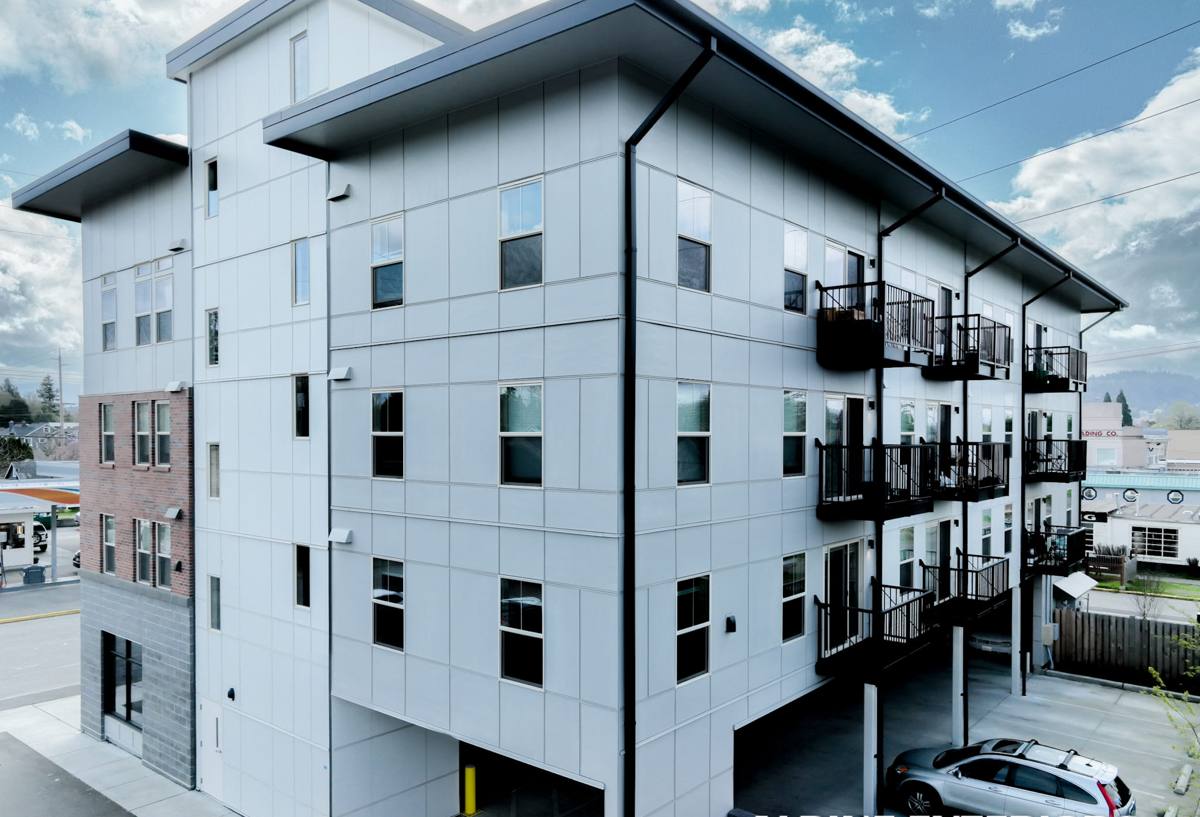
New-Construction vs. Replacement Windows: Why the Distinction Matters Here
New-construction windows have a nailing flange (fin) around the perimeter that gets fastened directly to the wall sheathing, then flashed over with tape or a fluid-applied membrane before siding goes on. Replacement windows are built to fit into an existing frame without disturbing the exterior finish. Homeowners sometimes assume these are interchangeable if the size is close — they aren't, and using the wrong type on a new build creates a weak point that's hard to fix later without pulling siding.
On a new build in this area, the nail-fin approach is the right call almost every time, because it lets us build a continuous water management plane — housewrap laps over the top flashing, side flashing laps over the fin, and everything drains down and out rather than into the wall cavity. That layered, shingle-style sequencing is what actually keeps wind-driven rain out during a Whatcom County storm, not the window brand or price point.
Why This Is Worth Getting Right Before Siding Goes On
Once siding is installed, correcting a flashing mistake means removing finished material, which adds cost and delay to a project that's usually on a schedule. Catching sequencing issues during the window rough-in is the cheapest point in the whole build to fix them.
What a Correct Installation Actually Involves
There's no shortcut version of this that holds up long-term in a marine climate. A correct new-construction window install includes:
- Verifying the rough opening is square, level, and sized to the manufacturer's tolerance before the window ever gets set
- A sloped sill pan (not just flat flashing tape) so any water that gets past the window has somewhere to go besides the framing
- Back bedding or backer rod and sealant at the sill, per the window manufacturer's installation instructions
- Flashing tape or membrane integrated with the housewrap in the correct shingle-lap order — sill first, then jambs, then head, each lapping the one below
- Fasteners set through the nail fin at the spacing and location the manufacturer specifies — over-driven or missing fasteners are a common cause of long-term air and water infiltration
- Interior and exterior sealant joints that are continuous, not spot-caulked after the fact
None of this is visible once the house is finished, which is exactly why it matters who's doing it and how carefully they follow the sequence.
Choosing Windows for Nooksack's Weather
Frame material, glass package, and drainage design all affect how a window performs against sustained damp and occasional wind-driven rain. There's no single "best" window for every new build — it depends on orientation, budget, and how exposed the elevation is — but some trade-offs come up on nearly every project in this area.
| Factor | What to Consider Locally |
|---|---|
| Frame material | Vinyl and fiberglass both hold up well against moisture without rot risk; fiberglass handles temperature swings with less expansion/contraction over time |
| Glass package | Dual-pane with a low-E coating is standard for this climate; argon-filled units add a modest efficiency gain worth considering on west and south exposures |
| Sill design | A sloped sill pan matters more on exposed elevations that take direct wind-driven rain than on sheltered ones |
| Drainage path | Weep holes and a clear drainage channel keep incidental moisture from sitting in the frame — worth confirming on any unit before it's installed |
| Exposure | Elevations facing prevailing weather warrant more attention to flashing detail than a sheltered north wall |
We'll walk through these trade-offs against your actual plan set and elevations rather than recommend the same package for every house — orientation and roof overhang design change what actually matters for a given wall.
Our Process on New-Construction Window Installs
Before the Windows Arrive
We review the rough openings against the window schedule and manufacturer specs before install day, catching framing sizing issues while they're still easy to correct. We also confirm the housewrap and flashing materials on site are compatible with each other and with the window manufacturer's requirements — mixing incompatible tapes and sealants is a quiet way to void a warranty.
Install Day
Sill pan flashing goes in first, then the window is set, shimmed, and fastened per spec, then flashed in the correct shingle-lap sequence. We check each unit for square and proper reveal before moving to the next, rather than setting a whole floor of windows and coming back to true them up.
After Install
We walk the exterior with the builder or homeowner before siding closes everything in, since that's the last point where flashing and sealant work is visible and correctable without demo.
Mistakes We See on New Builds — and How We Avoid Them
Most window problems on new construction aren't caused by a bad window — they're caused by a rushed or out-of-sequence install. The most common issues we see (and correct for) on new builds in this area:
- Flat sill flashing with no slope, so water sits against the frame instead of draining out
- Housewrap lapped under the window flange instead of over it, sending water behind the wrap instead of shedding it
- Caulk used as a substitute for proper flashing tape at the head or jambs
- Fasteners driven at odd angles or spacing that leave gaps at the nail fin
- Openings framed slightly out of square, forcing the window to rack when fastened, which stresses the frame and weakens the seal over time
Every one of these is easy to avoid with the right sequence and a few extra minutes per window — but they're also easy to miss if the crew is moving fast to keep pace with the rest of the build schedule.
What to Ask Your Builder or GC About Window Installation
If you're managing a new build and windows are being installed by a sub, it's reasonable to ask these questions before the work happens, not after siding is up:
- Will sill pans be sloped, or is the plan flat flashing tape only?
- What's the lap order for housewrap and window flashing — sill, jamb, then head?
- Are fasteners being installed to the window manufacturer's spec, or standard framing nails at whatever spacing is convenient?
- Will someone check each opening for square before the window is set?
- Is there a walk-through before siding covers the flashing work?
Why Local Experience on Nooksack-Area Builds Matters
Windows installed correctly for a dry inland climate can still fail here if the crew doesn't account for driving rain and prolonged damp exposure — the products are often the same, but the sequencing and attention to drainage detail need to match what Whatcom County weather actually does to a wall assembly over years, not just what a spec sheet assumes. Crews that work new construction across Ferndale and the surrounding Nooksack area see how these details hold up over time on homes just like the one being built, and that's what shapes how carefully each flashing lap and sealant joint gets handled — not shortcuts to hit a schedule, but a sequence that's been proven to keep water out through a full wet season.
If you're planning a new build in the Nooksack area and want windows installed right the first time — before siding closes it all in — we're happy to walk your plans, talk through window selection for your specific elevations, and give you a straightforward, no-pressure estimate using the form below.