 Ferndale
 Building New in Sudden Valley Means Getting the Window Install Right the First Time
Sudden Valley sits close to Lake Whatcom, wrapped in trees, with the kind of weather pattern that defines western Whatcom County: long stretches of driving rain, heavy moisture off the water, and a moss season that seems to run most of the year. When you're building new, the window installation is one of the few parts of the process you genuinely cannot fix cheaply later. Once siding and trim go on over a bad window install, the problems it causes — staining, soft sheathing, leaks at the corners — often don't show up for a year or two, and by then the fix means tearing back finished work.
New-construction window work is a different job than replacing a window in an existing wall. It happens earlier in the build, it involves different flashing details, and it has to be coordinated with the framer, the weather-resistant barrier (WRB) installer, and whoever's doing siding — sometimes all three are us, sometimes we're one piece of a larger build. Either way, the install has to be right before the wall gets closed up, because there's no going back to fix a flashing lap once the siding is on.
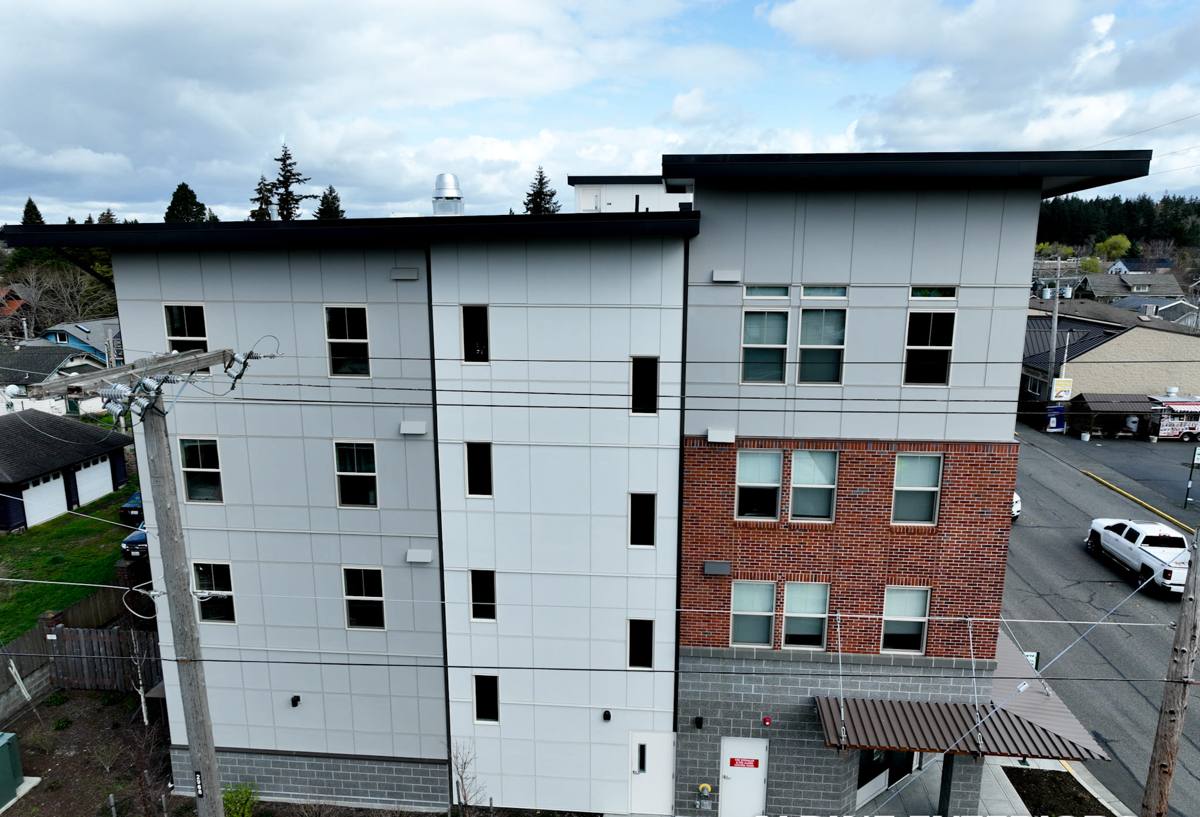
Why New-Construction and Retrofit Windows Are Not the Same Job
New-construction windows have a nailing flange (or "fin") around the perimeter of the frame, meant to be fastened directly to the sheathing and integrated into the wall's water management system before any exterior finish goes on. Retrofit or "pocket" windows are built to slide into an existing frame with minimal disturbance to the surrounding wall — useful for renovations, but not the standard for new builds, and not something we'd recommend using in place of a proper flanged window when the wall is open.
The advantage of doing it right during new construction is that you get full access to the rough opening, the sheathing, and the WRB layer. That access is what lets us build a correct drainage plane instead of just caulking around the edges and hoping. On a new build in Sudden Valley, that access is worth using well — it's the cheapest point in the entire life of the house to get the window-to-wall connection right.
What This Means for Your Build Timeline
Window installation on new construction happens after the rough opening is framed and the WRB is on, but before siding starts. If you're working with a builder, we coordinate directly with the framing crew so openings are sized correctly and square before windows show up on site — a surprising number of installation delays come from openings that are out of square or slightly undersized, which we catch early when we're involved from the framing stage rather than handed a finished shell.
What Sudden Valley's Climate Actually Demands
Whatcom County doesn't get the extreme wind-driven rain of the open coast, but Sudden Valley's position near the lake and tree cover brings its own combination of moisture problems: prolonged damp periods, heavy shade that keeps surfaces wet longer, and moss and algae growth that thrives in the humidity trapped by tree canopy. None of that is dramatic on its own, but it adds up to a lot of cumulative moisture exposure over a window's lifespan.
- Extended damp seasons mean any small flashing gap has more time and more water passing over it to find its way in.
- Shaded, tree-heavy lots dry out slower after rain, so sealants and gaskets stay wet longer and age faster if the wrong products are used.
- Moss and organic growth on sills and trim hold moisture against the frame if drainage details aren't built in from the start.
- Temperature swings between damp mornings and warmer afternoons stress sealant joints over years, which is why mechanical flashing — not just caulk — has to do the real work of keeping water out.
None of this requires exotic materials. It requires a correctly built, layered drainage system around every window, done in the right order, with materials that are compatible with each other. That's a workmanship issue more than a product issue.
What a Correct New-Construction Window Install Actually Involves
There's a specific order of operations that keeps water moving out and down instead of into the wall cavity. Skipping steps or doing them out of order is the single most common cause of new-construction window leaks we get called to diagnose in older homes around the area.
- Sill pan flashing — a sloped, sealed pan under the rough opening that catches any water that gets past the window and directs it back out, rather than letting it sit on the sill framing.
- Back dam at the interior edge of the sill pan so water can't run inward toward the house.
- Window set into the opening, shimmed level and square, fastened per the manufacturer's schedule — this is where a rushed install shows up later as a window that doesn't operate smoothly or seals unevenly.
- Flange integration with the WRB in correct shingle-lap order — side flanges taped or flashed first, head flashing last, so every layer overlaps the one below it the way water actually flows.
- Head flashing with a drip edge that kicks water clear of the wall below, not just a flat strip of tape.
- Interior air sealing with low-expansion foam or backer rod and sealant, so the wall's air barrier is continuous, not just the water barrier.
- Final inspection of every lap, fastener, and seal before siding or house wrap covers the work.
Any one of these steps done out of sequence — head flashing installed under the side flashing instead of over it, for example — can turn a well-made window into a leak point regardless of how good the window itself is.
Frame Material: What We See Used in New Builds Here
The window itself matters too, though less than the install quality. For new construction in this climate, the main choice is usually between vinyl, fiberglass, and clad-wood frames. Each has real trade-offs worth knowing before you spec a whole house.
| Frame Type | Moisture Behavior | Maintenance | Typical Cost Position |
|---|---|---|---|
| Vinyl | Does not rot or corrode; performs well in damp climates | Low — no painting or sealing needed | Most affordable |
| Fiberglass | Very stable in moisture and temperature swings; low expansion/contraction | Low to moderate | Mid to upper range |
| Clad-Wood | Good if factory cladding and flashing details are perfect; wood interior vulnerable if water reaches it | Higher — relies on cladding integrity staying intact | Highest |
We install all three depending on what a homeowner or builder specs, but we're upfront about the trade-off with clad-wood: it looks great and performs well when everything is installed correctly, but it depends entirely on the cladding and flashing staying sealed, because damaged cladding exposes real wood to a climate that doesn't forgive standing moisture. For homes with heavy tree cover and long damp seasons like much of Sudden Valley, vinyl and fiberglass tend to be the lower-maintenance long-term choice, though we'll install whatever fits your design and budget as long as the installation details are built to handle the moisture load.
Our Process on a New-Construction Job
Before Windows Arrive
We review the rough opening sizes against the window schedule, walk the framing with the builder or homeowner, and flag any openings that are out of square or undersized before they become a scheduling problem.
During Installation
We follow the sill-pan-to-head-flashing sequence on every opening, using flashing tape and sealants that are compatible with the specific WRB on the job — mixing incompatible tapes and house wraps is a real source of adhesion failure over time, so we match products rather than grabbing whatever's on the truck.
Before Siding Closes the Wall
Every opening gets a visual check for continuous flashing laps, proper fastening, and sealed penetrations before we sign off and siding crews move in. This is the last point where a mistake is cheap to fix, so we don't skip it.
Mistakes We See When We're Called In Later
Most of the window-related leaks we're asked to look into on existing Whatcom County homes trace back to a handful of repeatable issues from the original install:
- Head flashing installed before the side flashing, reversing the shingle-lap order water needs.
- Caulk used as the primary water barrier instead of proper flashing, which fails as sealants age and shrink.
- No sill pan, so any water that gets past the window sits directly on bare framing.
- Incompatible tape and WRB products that stop adhering within a few years.
- Openings framed out of square, forcing shims and gaps that never seal evenly.
Every one of these is preventable with a correct install sequence — it's not about needing a more expensive window.
A Practical Checklist If You're Building New in Sudden Valley
- Confirm your window installer coordinates directly with your framer and WRB installer, not just the general contractor.
- Ask whether sill pan flashing is standard on every opening, not just an upgrade.
- Confirm flashing tape and house wrap are from compatible product lines.
- Ask to see the wall before siding closes it — a reputable installer won't mind a walkthrough.
- Choose frame materials with the site's shade and moisture exposure in mind, not just appearance.
- Get manufacturer warranty terms in writing, and confirm the installer's workmanship warranty separately — the two aren't the same thing.
Why It Matters to Hire a Crew That Already Works Sudden Valley
A window install that works fine in a dry, open lot can fail in a shaded, moisture-heavy site like much of Sudden Valley if the flashing details aren't built for sustained dampness. Crews who work this area regularly already know which product combinations hold up here, how tree cover changes drying time, and where builders in Whatcom County tend to cut corners that cause problems down the line. That local pattern recognition is worth more than a lower bid from a crew unfamiliar with the area's conditions — a shortcut that's invisible on install day shows up as a callback two winters later.
If you're planning new construction in Sudden Valley and want a window installation done right the first time — coordinated with your framing and siding timeline, built for this area's rain and moss season, and inspected before the wall closes up — we're happy to walk your site and talk through it. Reach out for a free, no-pressure estimate using the form below.